Photo by Joseph Malone on Unsplash
How to Frame a Puzzle
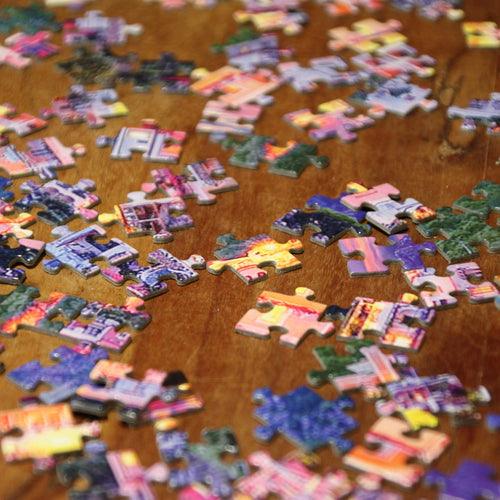
Framing a jigsaw puzzle you’ve spent hours assembling is a wonderful way to preserve your hard work and turn it into a piece of art. Whether it's a beautiful landscape, a nostalgic image, or an intricate design, framing a puzzle allows you to showcase your achievement in style. In this guide, we will walk you through the steps of gluing, mounting, framing, and hanging your completed puzzle.
How to Glue a Puzzle
Before framing, it’s crucial to secure the pieces of your puzzle so they don’t fall apart. Gluing is an essential step to ensure your puzzle stays intact.
Materials you'll need:
- Puzzle glue (specifically designed for puzzles) or Mod Podge
- A large, flat surface (a table, puzzle mat, or cardboard works well)
- A spreader (some glues come with a spreader or you can use a straight edge, like a piece of cardboard)
- Wax paper or plastic wrap
- Rolling pin (optional)
Steps:
- Prepare the surface: Gently lay your completed puzzle face down on a large piece of wax paper or plastic wrap. This will protect the puzzle from glue stains and keep it from sticking to the work surface. Flipping your completed puzzle will be easier if you have it on a puzzle mat or board. You can use a rolling pin to gently flatten your puzzle if it bunches up while flipping.
- Apply the glue: Using the provided spreader or straight edge, apply the glue evenly over the entire surface of the puzzle. Work from the center outwards to avoid air bubbles or uneven application. Make sure all the puzzle pieces are thoroughly coated (Note: some glues recommend applying to the front of the puzzle, some to the back, some to both. Follow the instructions provided to you. We generally recommend applying to the back to avoid any ink bleeding).
- Let it dry: Allow the glue to dry for at least 4–6 hours, or as per the instructions on the glue packaging. Be patient; rushing this step may cause your puzzle to lose its shape or come apart.
- Flip the puzzle: Once the glue has dried, carefully flip your puzzle over to check if the back is glued as well. If the back needs reinforcement, you can apply a second layer of glue. If your glue recommends applying to both sides of the puzzle, apply a layer to the front.
- Let it cure: After the second layer is applied (if necessary), let the puzzle cure for another 12–24 hours, depending on the adhesive's instructions.
Alternative Adhesives
While puzzle glue is the most popular option, there are a few alternatives you can consider depending on your preferences and the desired finish.
- Mod Podge: A widely available craft adhesive, Mod Podge works as both a glue and a sealant. You can apply it with a brush or straight edge and use it to coat the puzzle front and back. It dries clear and gives your puzzle a slightly glossy finish. Be careful not to leave streaks if you use a brush.
- Puzzle Saver Adhesive Sheet: If you prefer to avoid the mess of glue, specialty stores and online retailers sell large plastic adhesive sheets made especially for preserving puzzles. Just cut to the size of your puzzle, peel, and stick!
- Painter’s Tape or Duct Tape: Some puzzlers swear by this cheap and easy option. Simply apply strips of tape across the back of the puzzle. Make sure to get coverage on every single puzzle piece and apply tape vertically and horizontally. Be careful when handling a taped puzzle, it may be more fragile than other methods.

How to Mount Your Puzzle
After gluing your puzzle, mounting it onto a sturdy backing is important to keep it straight and prevent warping. Here are a few options:
- Mat Board: The frame you select for your puzzle may already have a mat board included with it. These are usually white and acid-free, so they look good with any puzzle and help preserve it over time! Use double sided tape to attach the edges of your puzzle to the mat.
- Puzzle Preserver Boards: These are pre-cut boards designed specifically to mount your puzzle. They typically have a self-adhesive back, so you can stick your puzzle directly onto the board once it’s glued.
- Foam Board: A lightweight but rigid option, foam board is easy to cut to size and provides excellent support for your puzzle. You can attach your puzzle to the foam board using double-sided tape, puzzle glue, or a spray adhesive.
- Cardboard: A cheaper alternative, cardboard can work as a mounting surface. Simply cut the cardboard to the desired size and attach the glued puzzle with glue or tape.
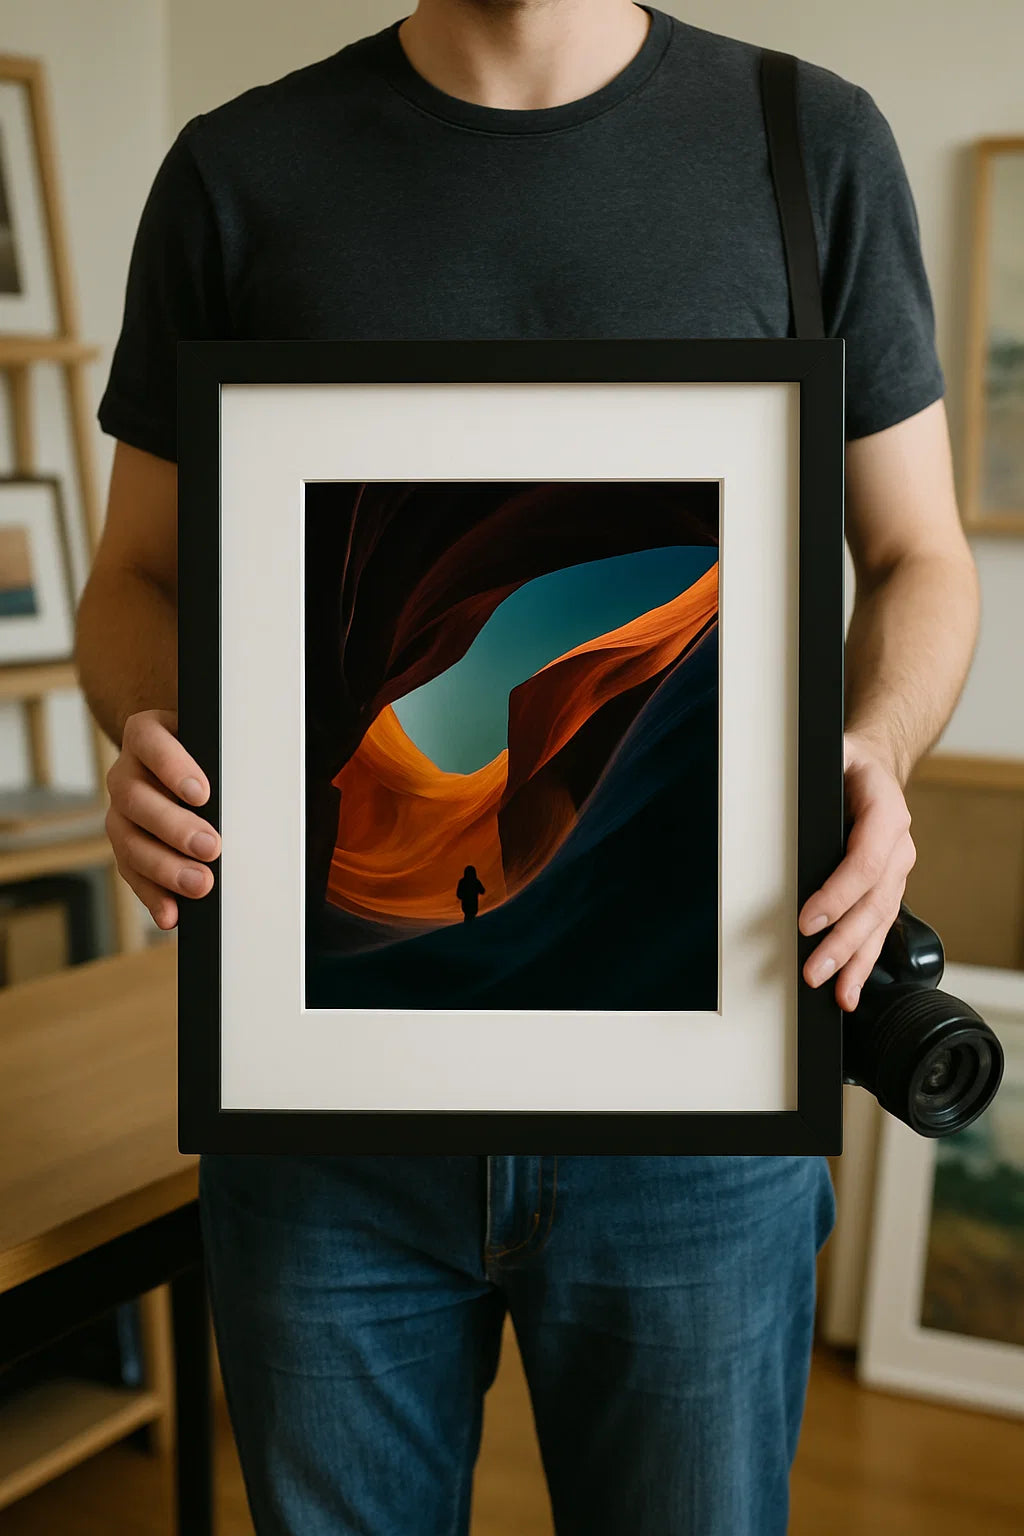
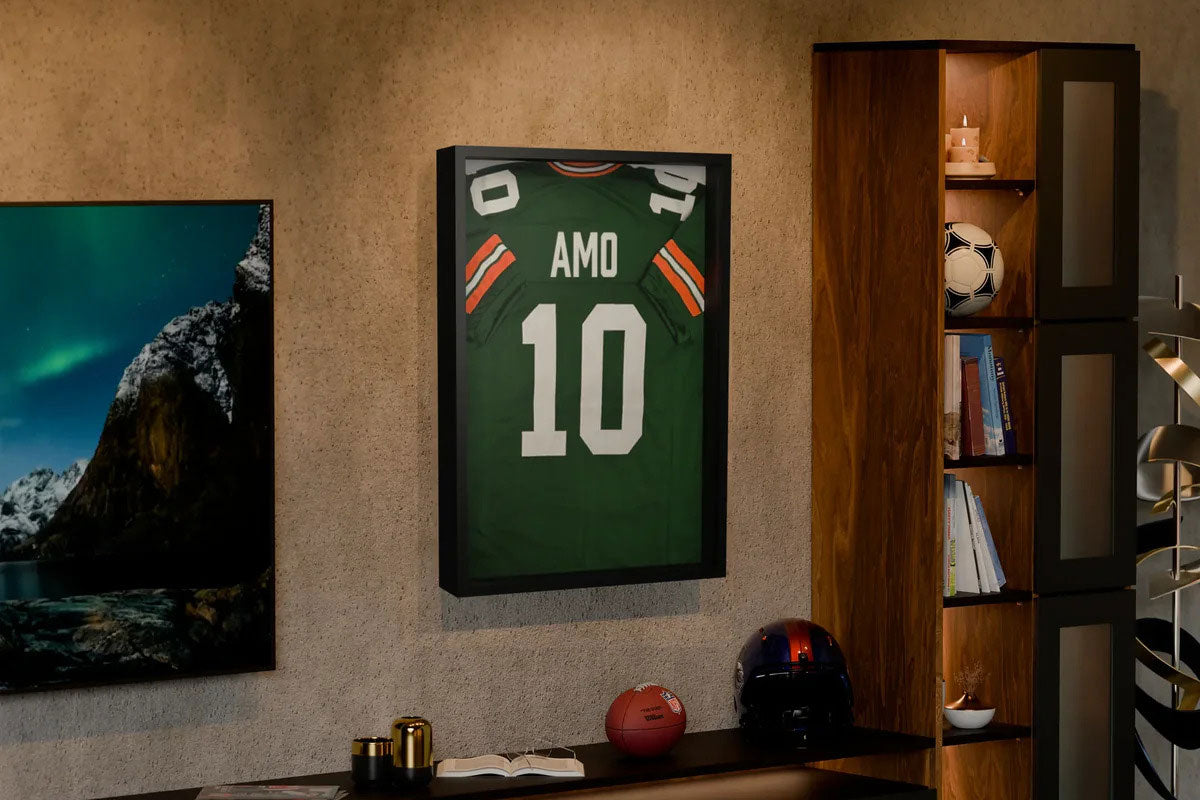
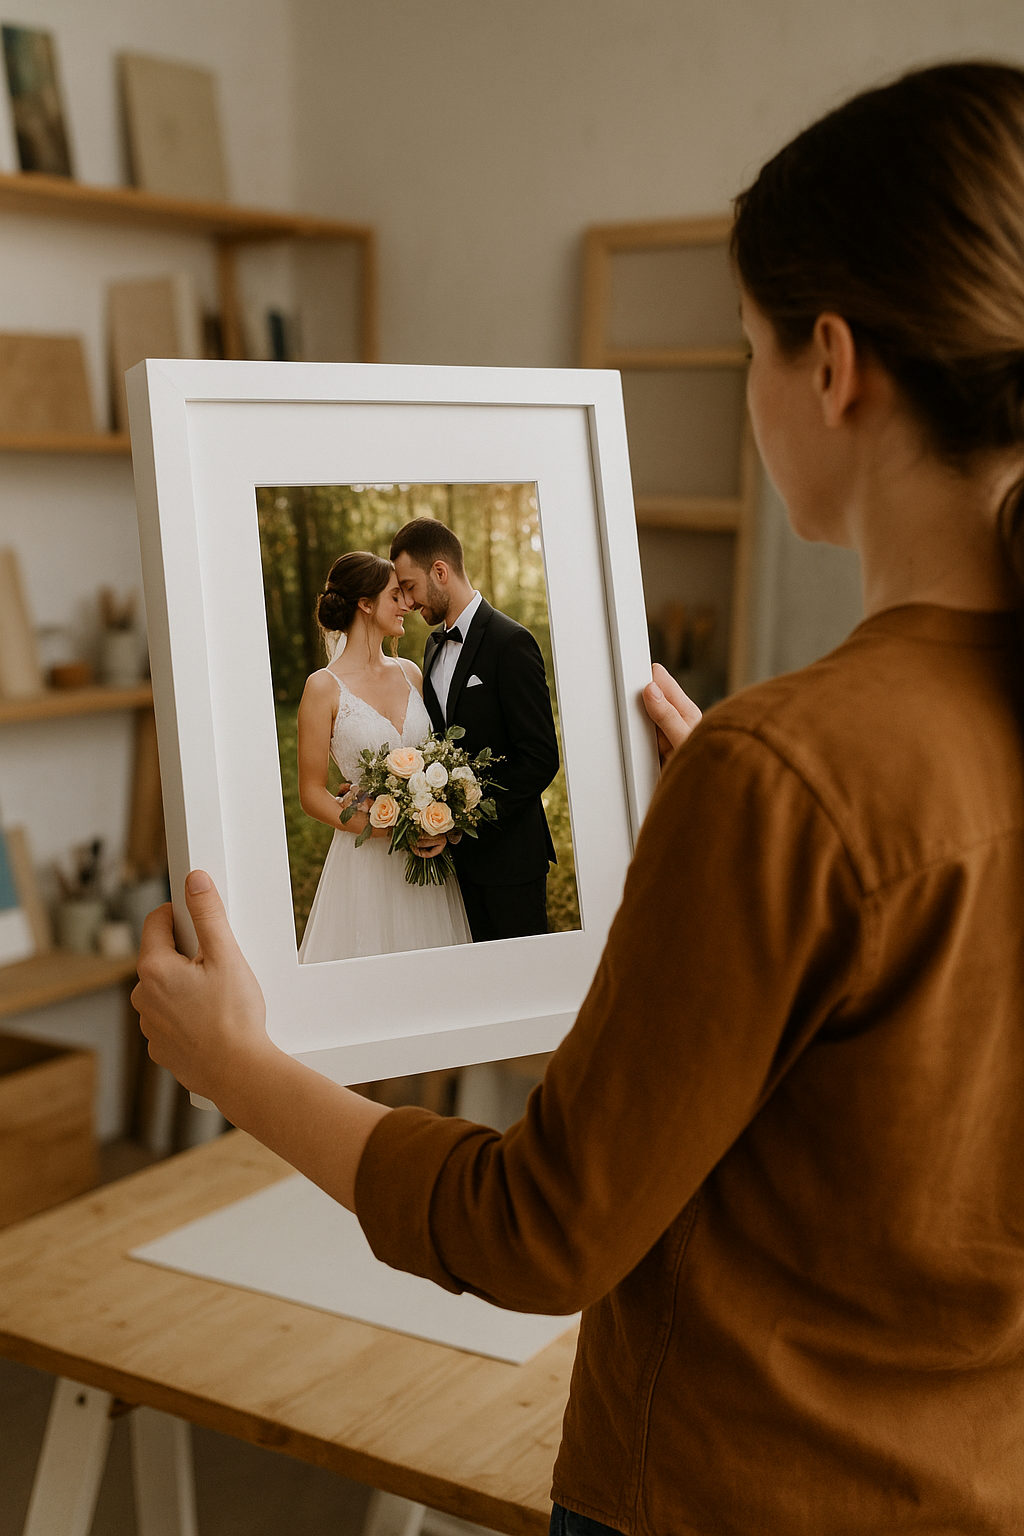
How to Frame Your Puzzle
Once your puzzle is glued and mounted, it’s time to frame it. The right frame not only enhances the appearance of your puzzle but also ensures it stays protected.
Steps for framing your puzzle:
- Choose the right frame: You can select a frame that complements the colors and style of your puzzle, or anything that matches your personal preference! Make sure the frame is deep enough to accommodate the thickness of the puzzle.
- A Note on Sizes: Puzzles sizes are not standardized between brands and you should always measure your puzzle before selecting a frame. Also consider whether you want the puzzle to take up the whole frame, or have some negative space between the puzzle and frame (we recommend getting a matted frame, larger than the dimensions of your puzzle in this case). That being said, the most common puzzle sizes are:
- Again, always measure your puzzles to make sure they will fit in a given frame. Frame sizes are always named for the display area of the largest artwork they will fit.
- Glass or No Glass?: Some people prefer to frame their puzzles with glass, while others opt for frames without it to showcase the texture of the puzzle. Glass protects the puzzle from dust and potential damage, but be aware that it adds weight and can sometimes cause glare. Be aware that some frames will have the glass glued to the frame itself, limiting your options.
- Secure the puzzle: Place your puzzle into the frame, ensuring it's centered and positioned properly. If the frame comes with a backing, secure the puzzle in place using clips or nails.
- Check the fit: Before sealing the back of the frame, check that the puzzle fits snugly and is positioned correctly. If needed, add extra padding at the back to keep it secure.
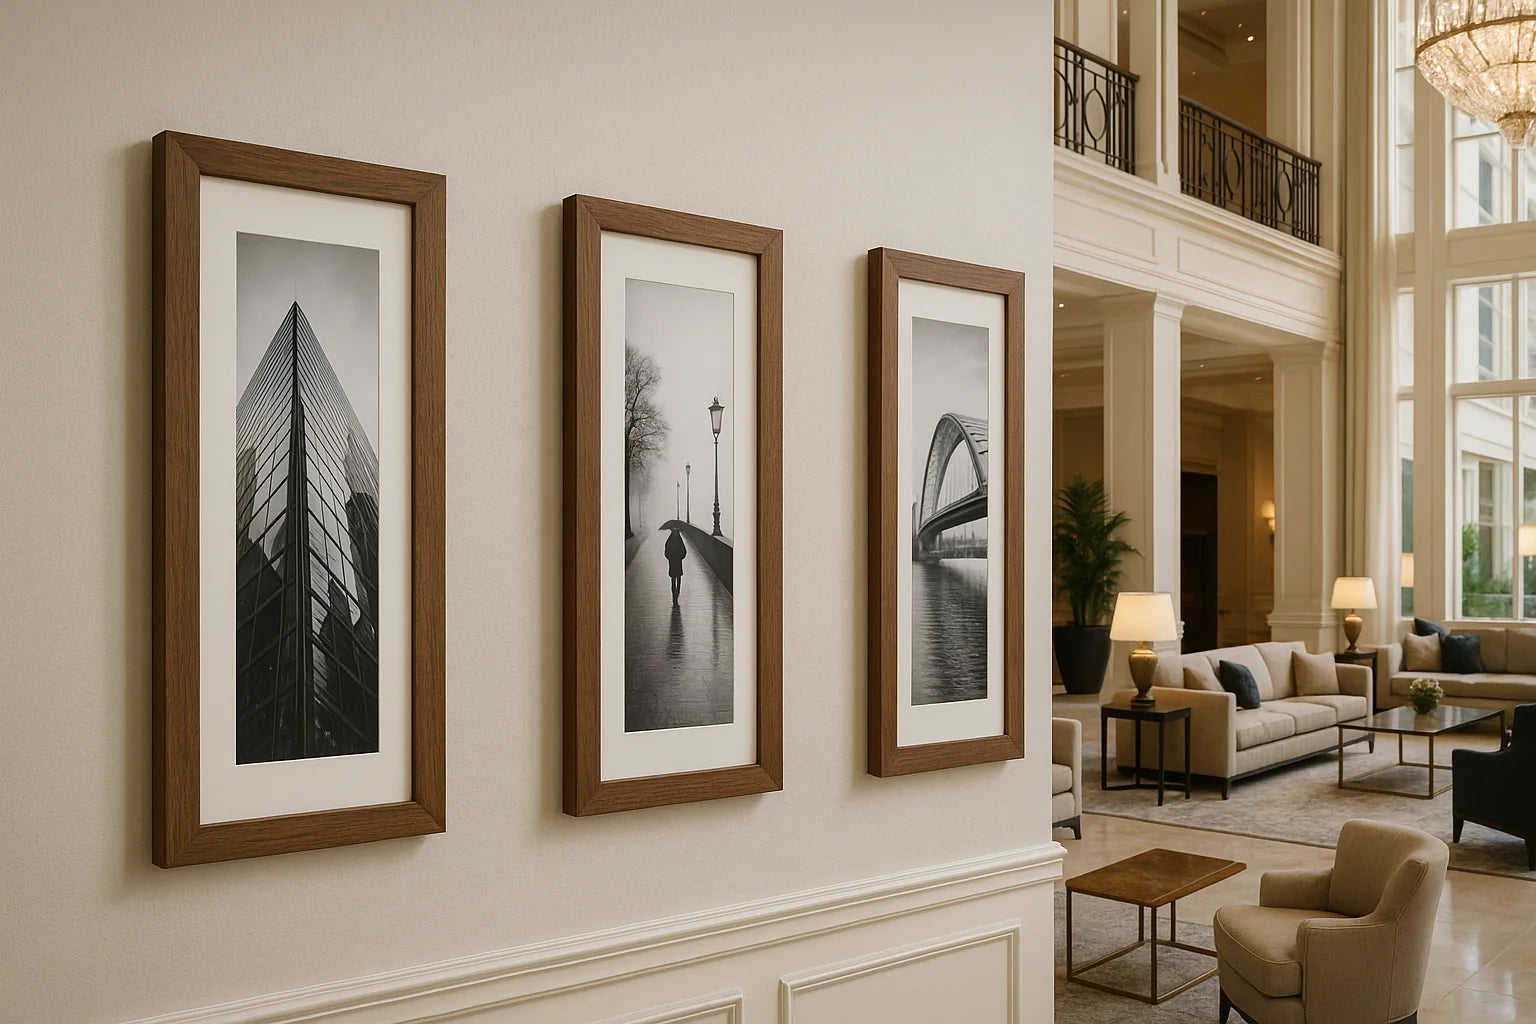
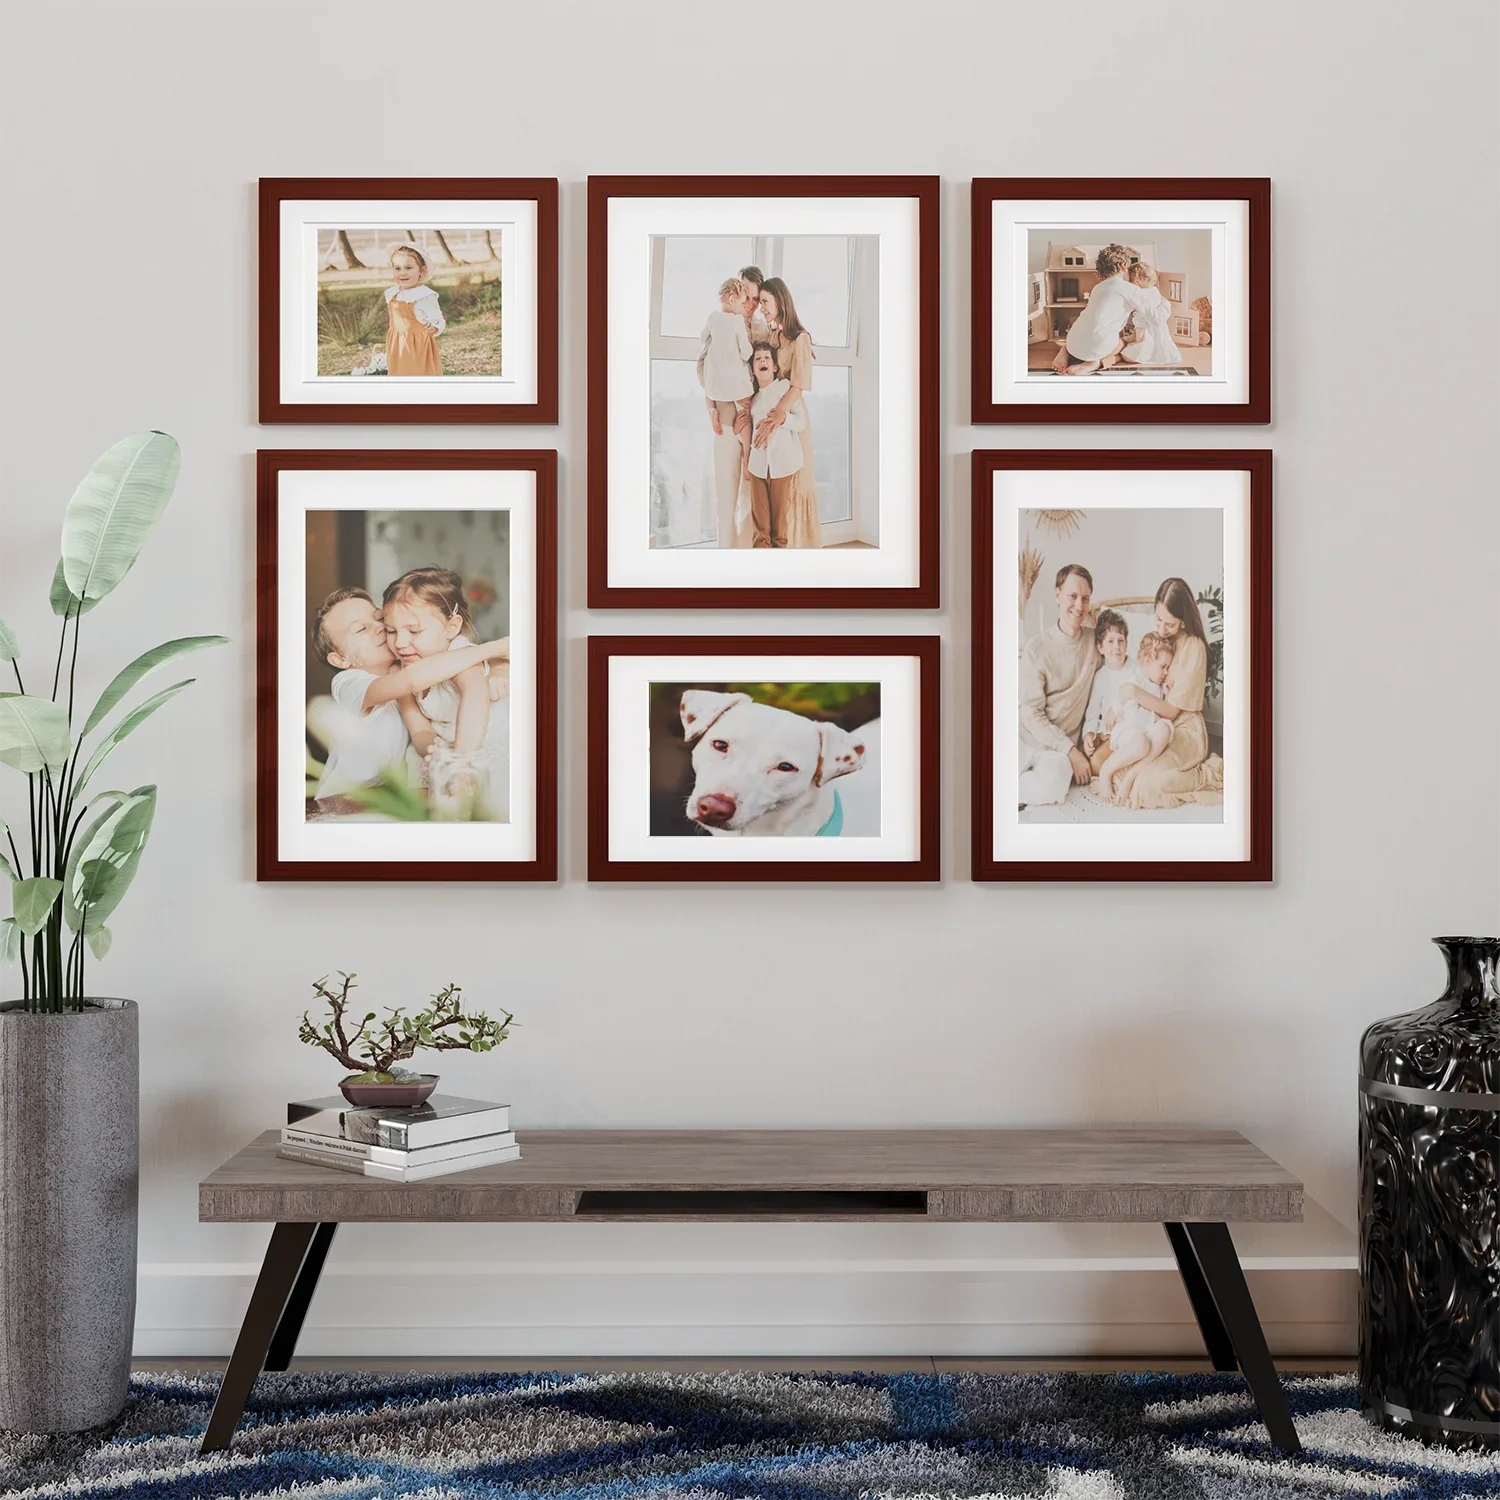
How to Hang Your Puzzle
Now that your puzzle is framed, it’s time to display it on your wall. Hanging your puzzle properly is key to showcasing it safely and securely.
Steps for hanging your puzzle:
- Choose the right wall space: Find a space that complements the size and style of your puzzle. Make sure the wall can support the weight of the frame.
- Use proper hanging hardware: If your frame doesn’t come with hanging hardware, you can purchase a picture hanging kit. For larger puzzles, consider using D-rings or heavy-duty picture hangers to distribute the weight evenly.
- Measure and level: Measure the height at which you want to hang the puzzle, and mark the spots for the hanging hardware. Use a level to ensure the frame will hang straight.
- Hang the frame: Attach the hanging hardware to the back of the frame and hang it on the wall. Step back to make sure the puzzle is aligned and centered before finalizing the placement.
- Enjoy your work of art: Now your puzzle is proudly displayed, and you can admire it every day as a testament to your patience and creativity.
Conclusion
Framing a puzzle not only helps preserve it but also turns it into a beautiful, lasting decoration for your home. By following these steps—gluing, mounting, framing, and hanging—you’ll be able to showcase your completed puzzle in a way that enhances its beauty and protects it for years to come.
Happy puzzling!
---
Check out the Frame Amo Blog for the latest in framing trends and tips!