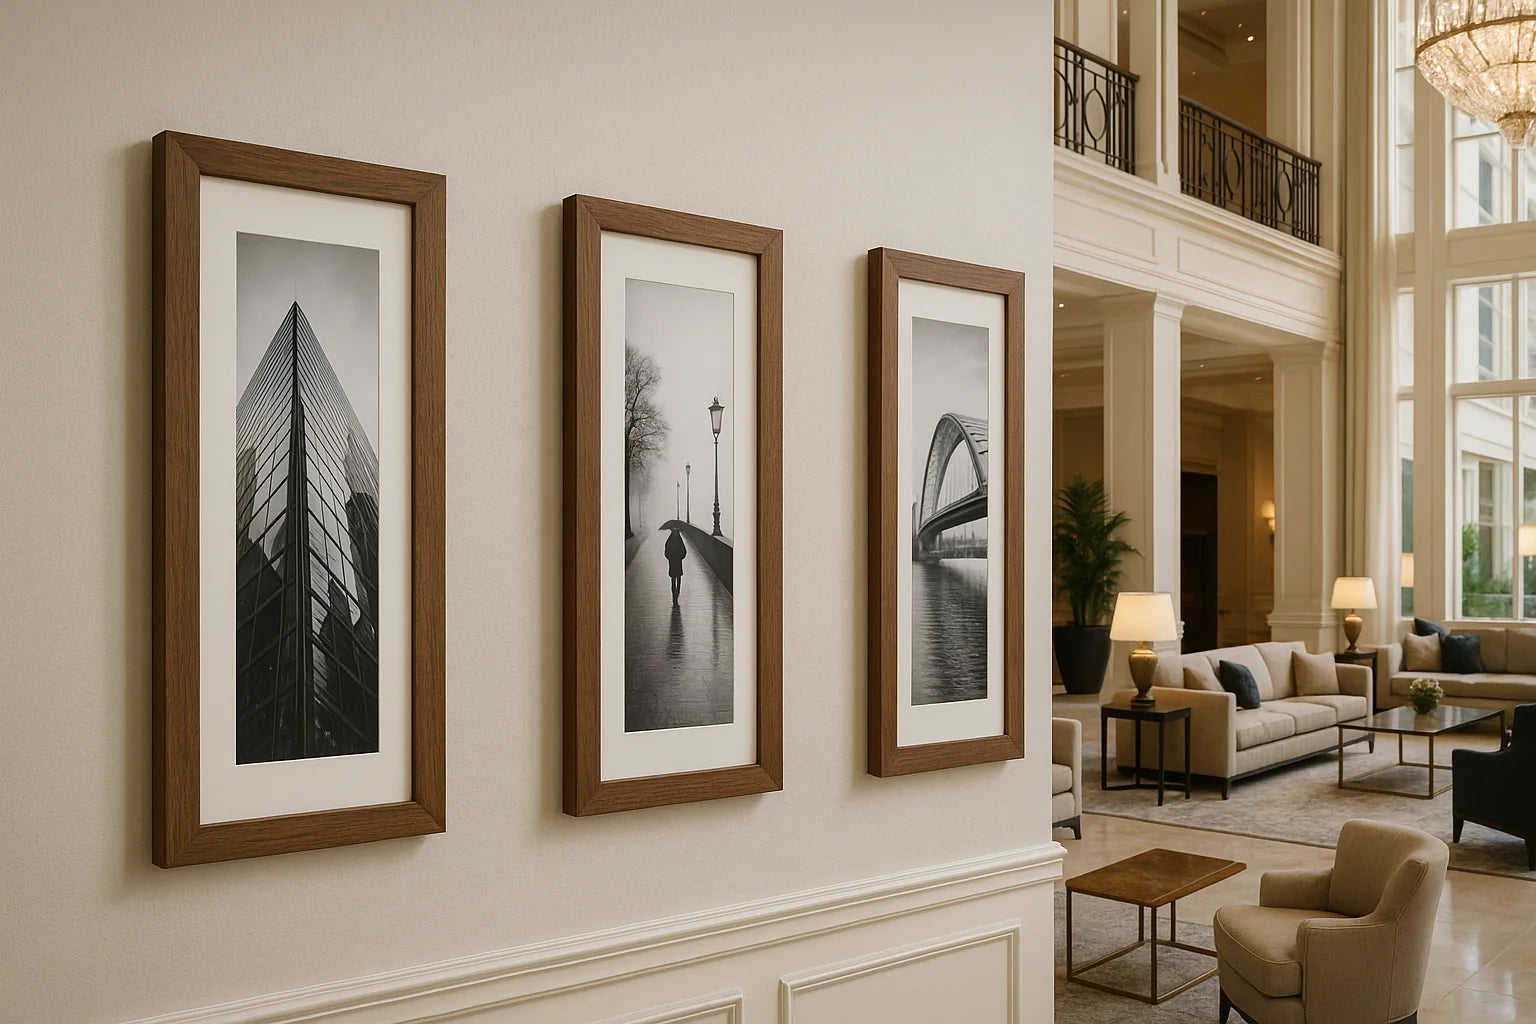
Our solid wood frames with plexiglass glazing are lightweight yet durable—perfect for displaying art, photography, and prints in any space. Each frame comes equipped with sawtooth hangers pre-installed on the backing board, ensuring your piece hangs securely and evenly without the need for extra hardware.
This guide walks you through how to hang your frame safely, whether in landscape (horizontal) or portrait (vertical) orientation.
Why Sawtooth Hangers?
Simple & Reliable: Sawtooth hangers make mounting lightweight-to-medium frames quick and easy—no wire or D-rings needed.
Flush Against the Wall: The frame sits close to the wall, offering a clean, gallery-style presentation.
Dual Support: Each frame includes two sawtooth hangers (along the top edge for landscape, or sides for portrait), providing better weight distribution and preventing tilt over time.
Tools You’ll Need
-
Tape measure
-
Level
-
Pencil or painter’s tape
-
Hammer
-
Picture frame hangers or hooks (rated for your frame’s weight)
-
Optional: wall anchors (for drywall or plaster)
Step 1: Measure the Sawtooth Hangers
- Lay your frame face down on a flat surface.
- Measure the distance between the center of the two sawtooth hangers along the top edge of the backing board.
- Measure the distance between the top edge of the frame and the grooves of the sawtooth hangers.
- Write these number down — you’ll use it to position your picture hangers on the wall.
Step 2: Mark the Wall
- Take your measurement for the distance between the two sawtooth hangers and hold it against the wall.
- Mark the ends of this distance lightly with a pencil.
- Use a level to draw a straight, horizontal line between those marks.
- These marks indicate where your picture hangers will go.
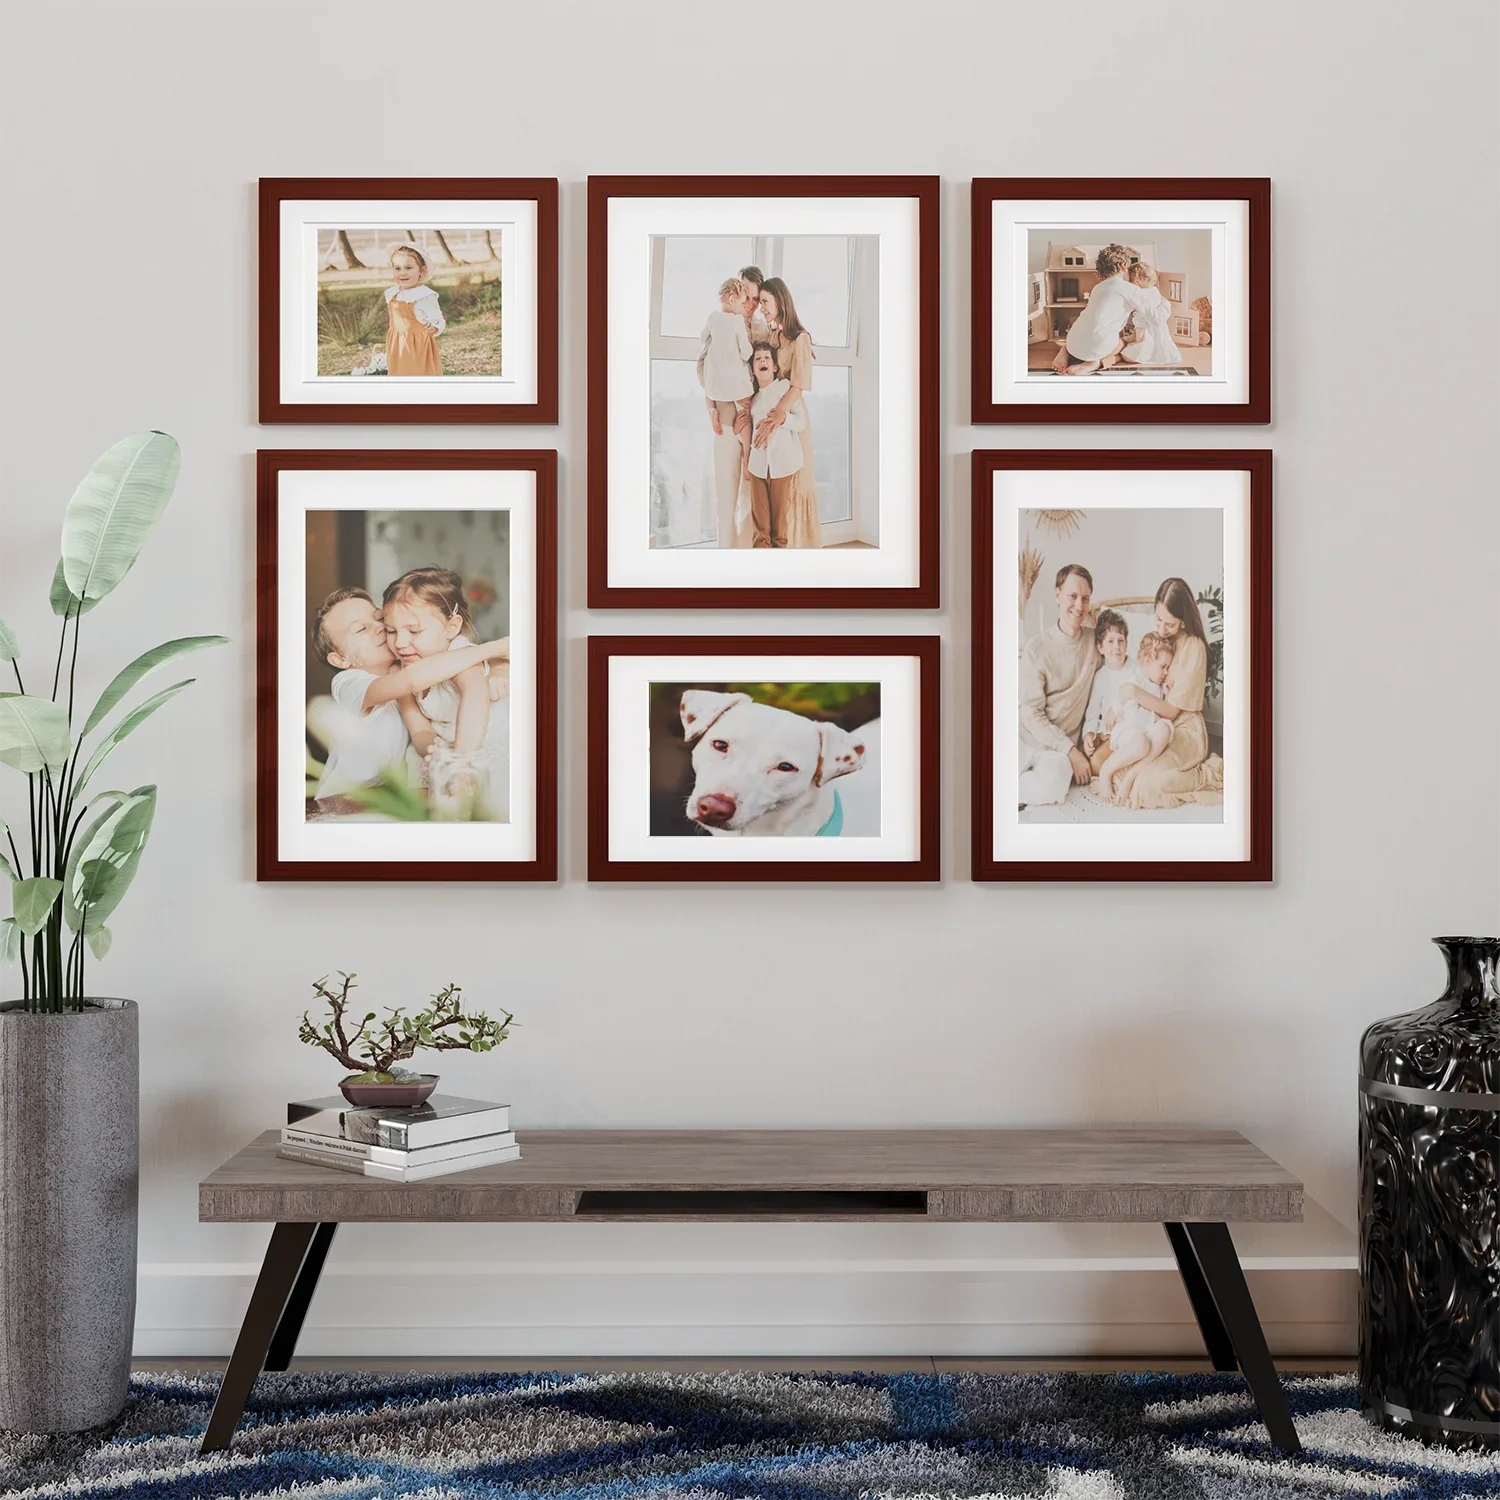
Pro tip: For most spaces, center artwork so the middle of the piece is 57–60 inches from the floor, aligning with gallery standards.
Step 3: Install Picture Hangers
-
Drywall: Use standard picture frame hooks or push-in anchors rated for your frame’s weight.
-
Wood studs: You can hammer the hooks directly into the wood.
-
Brick or masonry: Use masonry nails or anchors for a secure hold.
Gently hammer your picture hooks or hangers into the wall at your two marks, keeping them even and level.
Step 4: Hang the Frame
- With both hands, lift your frame and align the sawtooth hangers with the installed hooks.
- Lower slowly until both hangers catch securely.
- Step back and check that it’s level—adjust slightly if needed.
Safety Tips
-
Always use hardware rated above your frame’s total weight.
-
Avoid hanging on nails alone — dedicated picture hooks distribute weight more evenly.
-
For frames larger than 24x36, consider using two sets of hooks or a French cleat system for maximum stability.
-
Periodically check the hangers to ensure they remain tight and level over time.
References
-
Home Depot – Picture Hanging Hardware Guide
-
Smithsonian Institution – Museum Conservation Institute Guidelines
-
Apartment Therapy – How High to Hang Art
-
Lowe’s – Picture Hooks & Hangers
-
This Old House – Tips for Hanging Art Safely